1.指令:导出数据
2.修改autMan.cache为autMan_old.cache
3.将导出的sets.conf放在autMan文件夹
4.启动autMan,数据会导入
5.删除sets.conf
安装完成并启动后可进入autMan后台地址:http://autMan的ip:autMan端口/fanli/static
获取后台地址的指令:设置
1.Linux类系统
稳定版:
s=autMan;f=fanli;a=arm64;if [[ $(uname -a | grep “x86_64”) != “” ]];then a=amd64;fi ;if [ ! -d $s ];then mkdir $s;fi ;cd $s;wget https://github.com/hdbjlizhe/${f}/releases/download/main/autMan_$a.tar.gz && tar -zxvf autMan_$a.tar.gz && rm -rf autMan_$a.tar.gz && chmod 777 $s;pkill -9 $s;$(pwd)/$s -t;
尝鲜版:
s=autMan;f=fanli;a=arm64;if [[ $(uname -a | grep “x86_64”) != “” ]];then a=amd64;fi ;if [ ! -d $s ];then mkdir $s;fi ;cd $s;wget https://github.com/hdbjlizhe/${f}/releases/download/debug/autMan_$a.tar.gz && tar -zxvf autMan_$a.tar.gz && rm -rf autMan_$a.tar.gz && chmod 777 $s;pkill -9 $s;$(pwd)/$s -t;
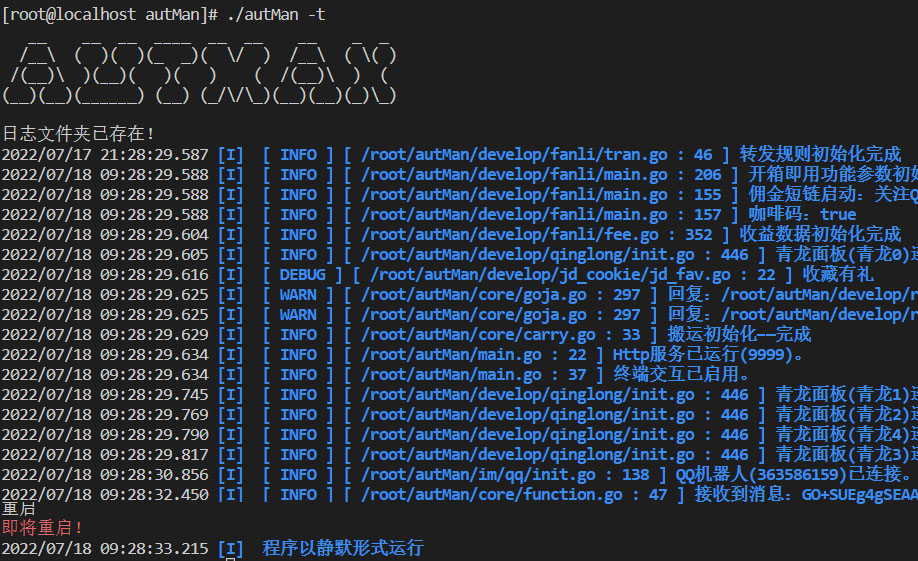
autMan(Linux系统含amd64\arm64)运行:
1.进入autMan文件夹:cd /root/autMan
2.指令启动:./autMan -t
3. 静默指令:重启

2.Windows系统
下载解压后直接运行exe文件
稳定版
https://github.com/hdbjlizhe/fanli/releases/download/main/autMan_win.tar.gz
尝鲜版
https://github.com/hdbjlizhe/fanli/releases/download/debug/autMan_win.tar.gz
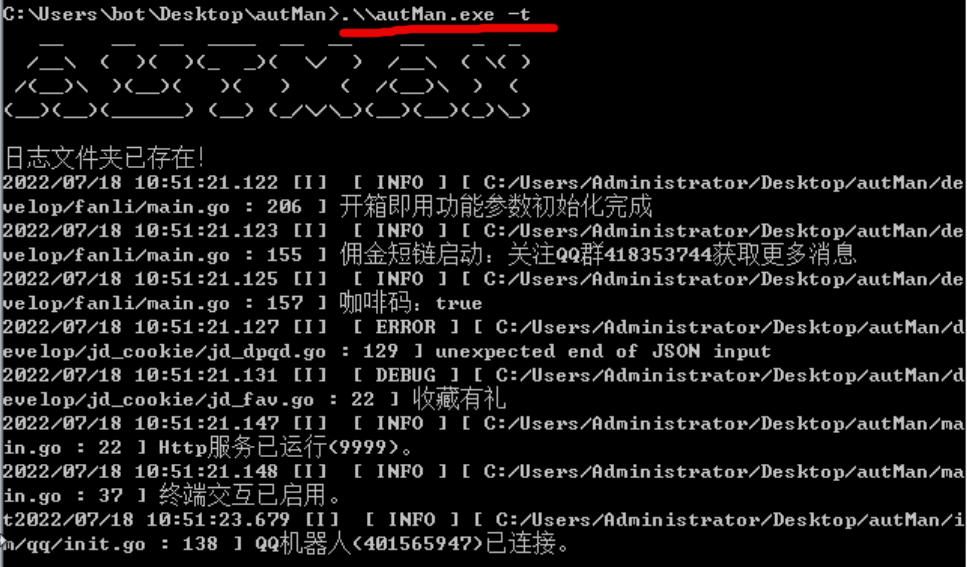
1.启动windows命令提示符或powershell等命令行工具
2.进入autMan文件夹
3.指令启动:.\\autMan.exe -t
4. 静默指令:重启
autMan(Windows版本)运行:

3.稳定版和尝鲜版
稳定版->尝鲜版
1.指令:set autMan taste true
2.指令:更新
或者用指令:更新尝鲜版
尝鲜版->稳定版
1.指令:set autMan taste false
2.指令:更新
或者用指令:更新稳定版
示例:

设置更新时的代理指令:set autMan ghproxy http://xxxx
开启或关闭更新时代理:set autMan download_use_ghproxy true/false
4.守护奥特曼情况下的更新
1.root账号ssh登陆,进入autMan文件夹
2.输入命令停止守护:systemctl stop autMan
3.手动运行奥特曼:./autMan -t
4.在奥特曼运行交互界面输入指令:更新
5.更新完成后关闭奥特曼,并杀死奥特曼后台。指令:pkill -9 autMan
6.启用守护:systemctl start autMan
5.后台登录
安装完成并启动后可进入autMan后台地址:http://autMan的ip:autMan端口/fanli/static
首次使用需要设置登录密码,设置完成后跳转到登录页面,输入密码登录成功
示例:

数据统计
数据评估
本站水木纱纪提供的autMan都来源于网络,不保证外部链接的准确性和完整性,同时,对于该外部链接的指向,不由水木纱纪实际控制,在2022年11月14日 下午7:34收录时,该网页上的内容,都属于合规合法,后期网页的内容如出现违规,可以直接联系网站管理员进行删除,水木纱纪不承担任何责任。
相关导航
J0811
Annyoo2021
Nvjdc
gys619

sillyGirl傻妞
jd-qinglong

passerby-b

